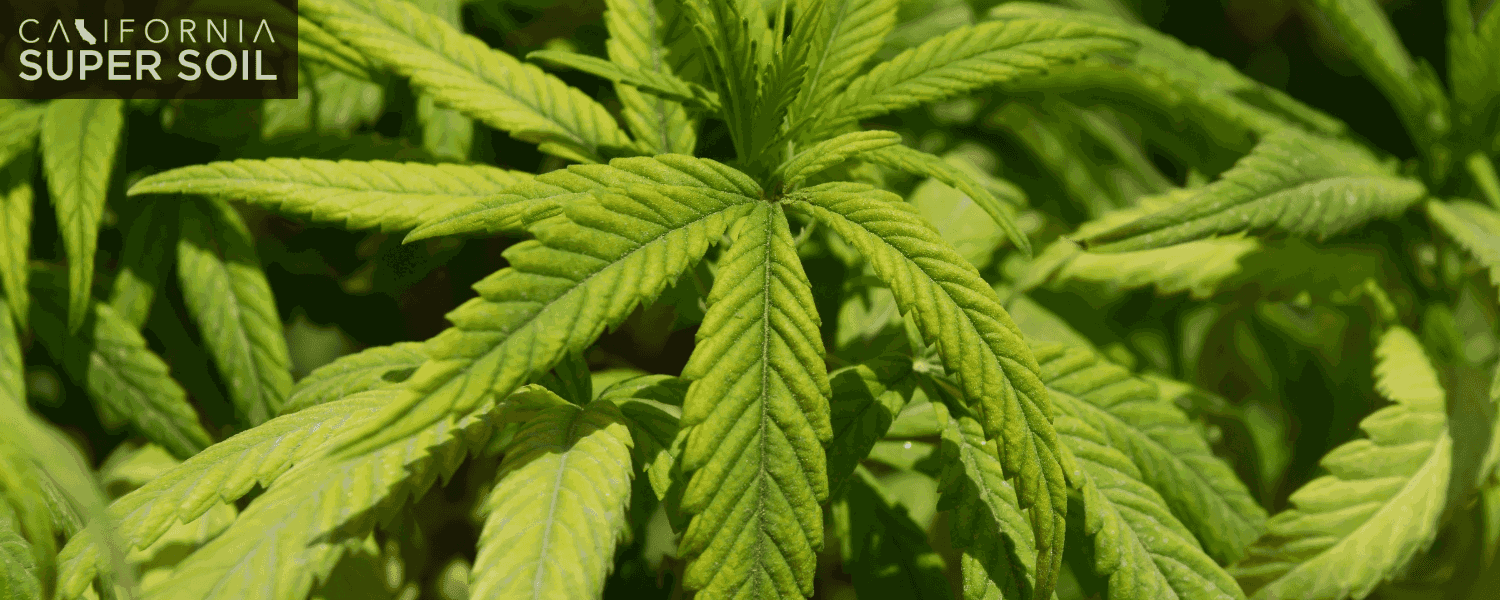
Best Cannabis Strains to Grow Indoors

If you want to grow cannabis, that is a brilliant idea, as it is a very relaxing hobby. You can save money by growing cannabis on your own. But you need a basic knowledge of how to grow them in the climate and atmosphere of your locality. You must have information about the strains under specific conditions. Here is an essential guide to the best cannabis strains that you can grow at home.
Best Marijuana Strains to Grow Indoors for High Yield
Qualities of a Good Marijuana Strain
When just getting into the hobby, it can be very confusing for new growers about where to start. There are many resources and ingredients to choose from and many variants of them. Also, it will be overwhelming to choose from a variety of strains. You can do your research online or get information from professional breeders.
One thing that can help you the most is having a grow kit. You can get your customized grow kit now. Also, you can get them from seedbanks or trusted growers. Following are the three main strains of marijuana:
1. Indica
It has a relaxing effect on the whole body and helps with sleep.
2. Sativa
It has a calming effect, e.g., from anxiety and stress.
3. Hybrid
This strain is a hybrid of Indica and Sativa.
Things to Consider Before Buying Strains
Before buying the grow kit, select the category of strains you want to grow to get the best yield. The qualities you need to keep in mind before purchasing the strains are below:
-
Taste and Smell
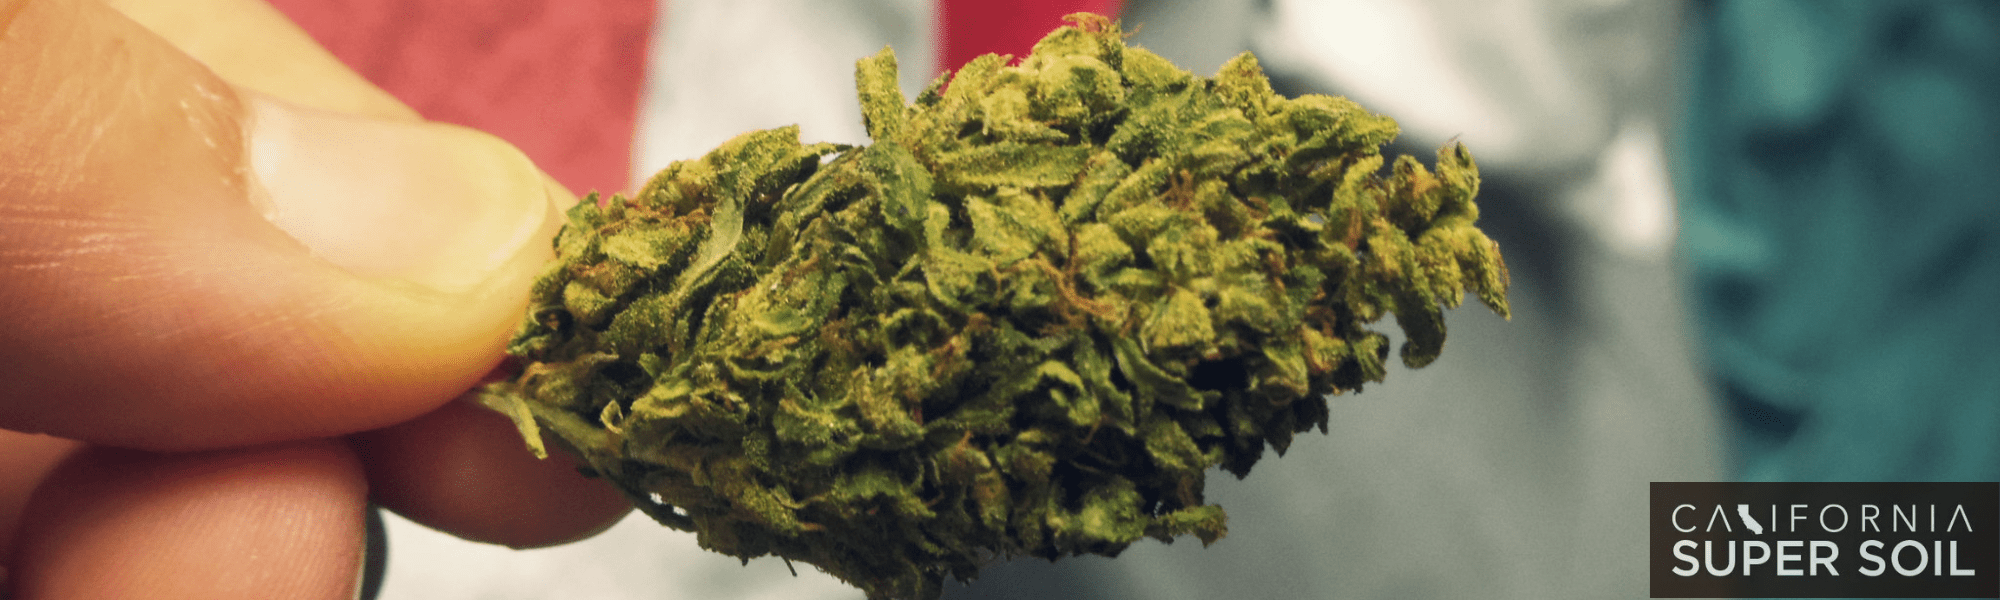
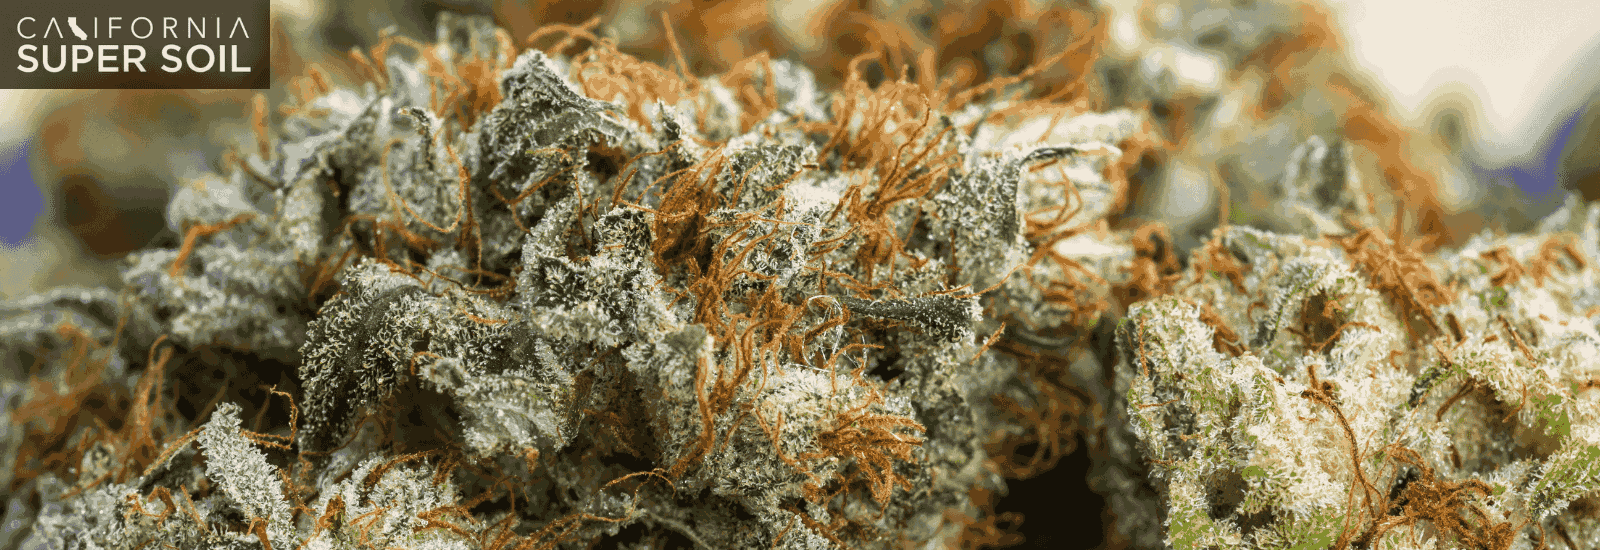
You must ask the seller what the strain you buy will taste like. It should taste fresh and vibrant. Also, check for the odor of the plant. These plants have a range of smells. It could be fruity or skunky. You should smell them before buying them, and go for the one whose smell you like. Do the sniff test. These factors contribute to the quality of cannabis.
-
Quality
You need to know the intensity of the profile you intend to buy. If you want a strong and potent strain, check for the THC level. Whether you are using it medically or for recreational purposes, you need to know what strain you should buy, depending on your requirements.
-
Looks and Feels
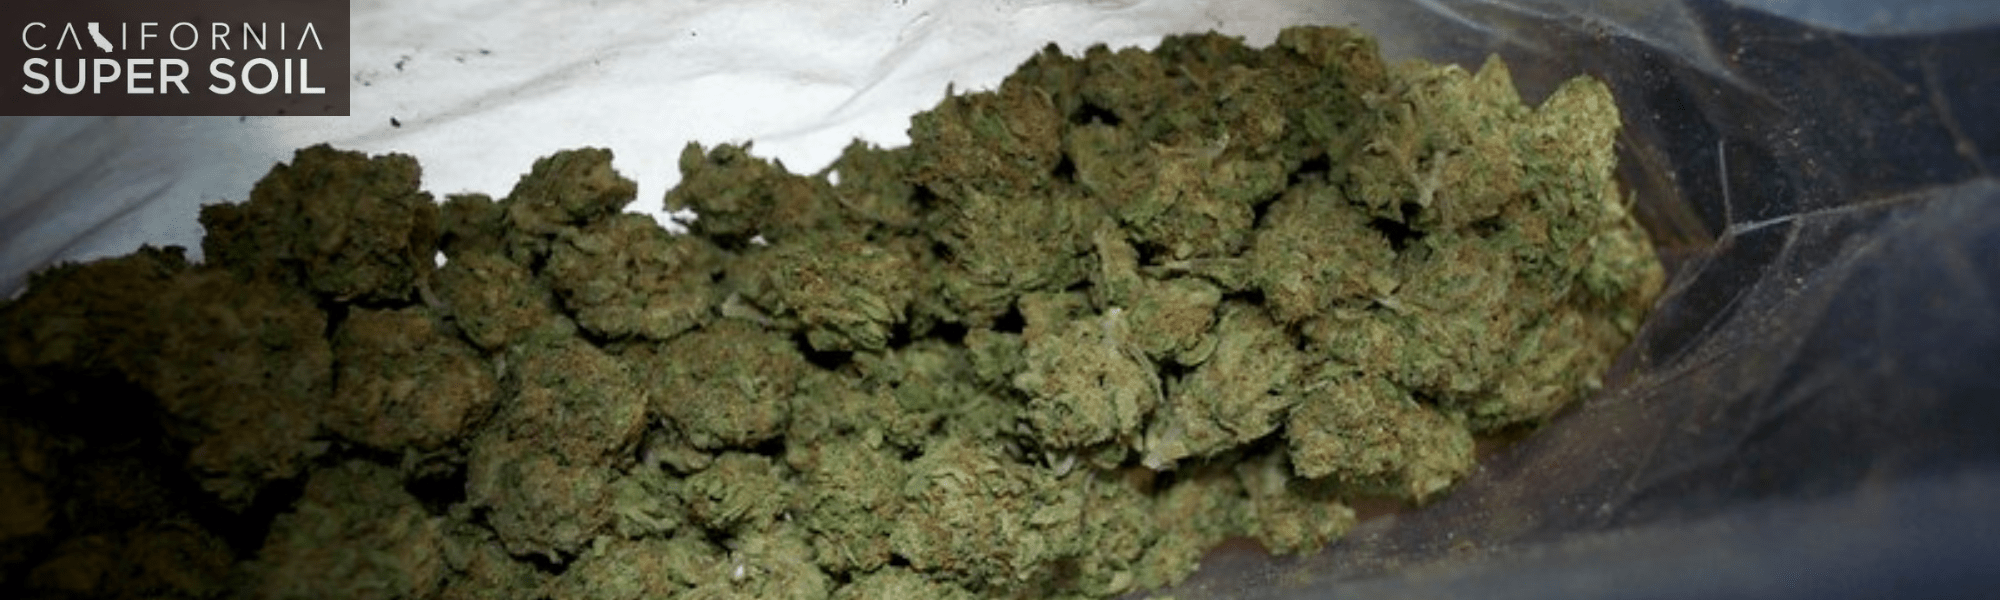
These are the traits that will help you recognize if the marijuana strain you are buying is good or not. The cannabis should look and feel fresh and pleasant. Their density must be according to their strain, e.g., dense, fluffy, or between. The strains should be moderate and dry.
Are All Weed Strains Suitable for Indoor Growing?
With more people living in small and closed spaces, not having lawns, gardens, or backyards, there is a shift in growing plants from outdoors to indoors. Cannabis can be grown indoors, too. Although most types can be grown indoors, some are best cultivated indoors. Following are the strains that you should consider growing indoors for the best yield:
- Zkittlez
- Blue Dream
- OG Kush
- Banana Kush
Best Strains to Grow Indoors for Beginners
Choosing the right equipment, the best space and the strains can be overwhelming for a beginner grower. But you can also take advantage of expert advice and the suitable beginner’s kit here. Once you have all you need, consider the following high-yielding marijuana strains to cultivate as a beginner:
1. Blue Dream
Blue Dream is the most accessible strain to grow for beginners, as it does not require much attention. Also, it has a short flowering time, so it grows quickly. It is a hybrid of blueberry and haze, grows tall, and provides high yield.
2. Harlequin
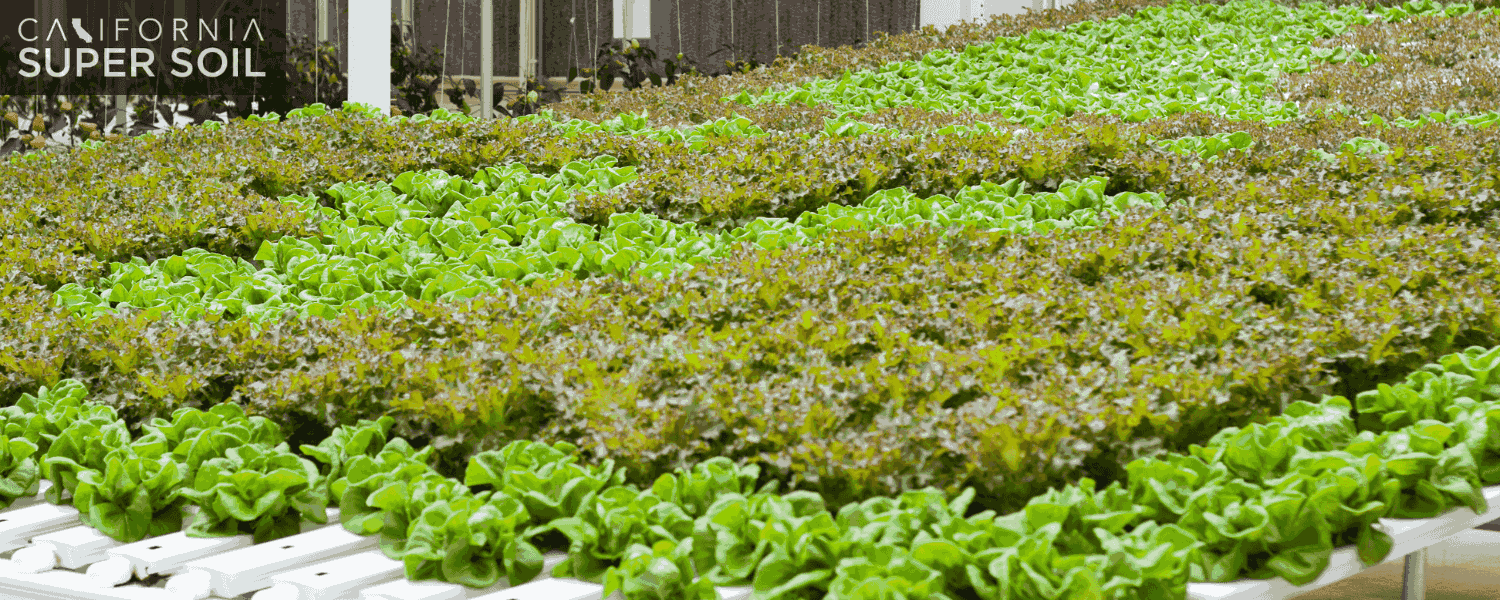
It is more potent than Blue Dream in its CBD-THC ratio. It is beginner-friendly to grow. It can be grown in soil or water (hydroponically). It has calming and euphoric effects.
3. Grandaddy Purple (GDP)
Grandaddy Purple is as popular as Sweet Indica. If you are a beginner, either using or growing it, this is the best strain to start with. It requires attention and care for environmental control but is beginner-friendly in many ways.
Also, check out our soil for weed production
Best Feminized Strains to Grow Indoors
Feminized strains are beneficial as they are genetically engineered, and every plant will produce buds. They are easier to grow. They save you time and space as you will not have to grow male plants.
These strains usually depend on light, so you must adjust the duration of the lighting cycle indoors, as there will be no sunlight. Many strains come in feminized variants. Below are some of the best to grow inside the house:
- Purple Kush
- White Widow
- Wedding Crasher
- Northern Lights
Best Sativas to Grow
Sativa strains are very effective in their use. They are tricky to cultivate indoors because of their growing height; they are tall. So, you need to be careful while choosing its strains. The following strains of sativa are best to be grown indoors:
- TrainWreck
- Ak-47
- Maui Wowie
Best Indicas to Grow
Indicas are shorter in height than sativa strains; thus, they are good to start indoors. They also take less space, usually have short flowering periods, and yield high. The following variants should be considered to grow:
- Papaya
- Blue cheese
Best High Yields Strains to Harvest Indoors
Some strains provide better and higher yields when grown indoors instead of outdoors because of better environmental conditions: temperature, humidity, light, and air. Some of them finish their growth quickly and thus minimize the effort. The following strains should be considered for high yield:
- Royal Skywalker
- Blue Dream
- Lemon Shining Silver Haze
- Gorilla Glue
- White Widow
Check out our Nutrient Shot for plant growth
Wrap Up
Growing marijuana indoors goes beyond just choosing strains; you also need to have a proper setup, grow kit, and supplies. We provide you with the best-personalized kits with six months of support. You must invest appropriate time and energy in cultivating for a successful yield. We are here to help you with your queries. Get your kit today and start your journey with us!


 Advantages and Disadvantages